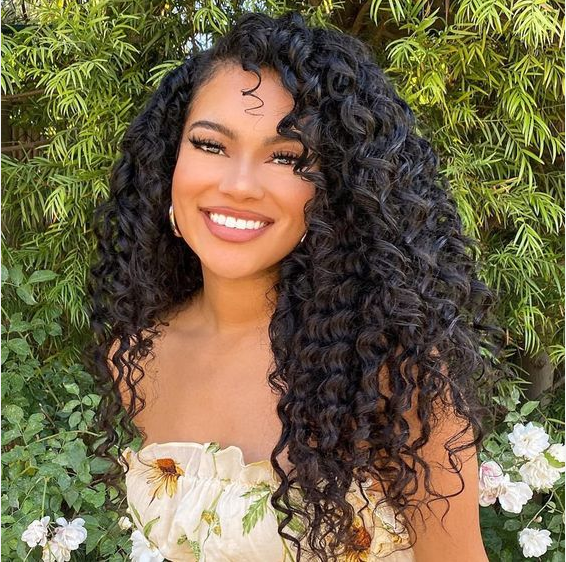
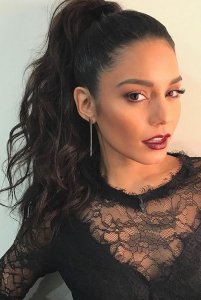
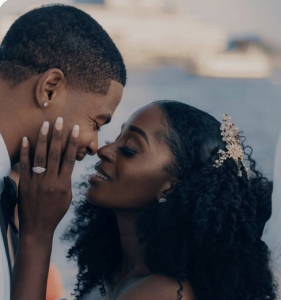
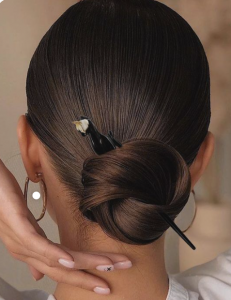
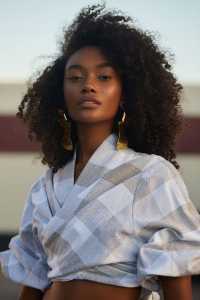
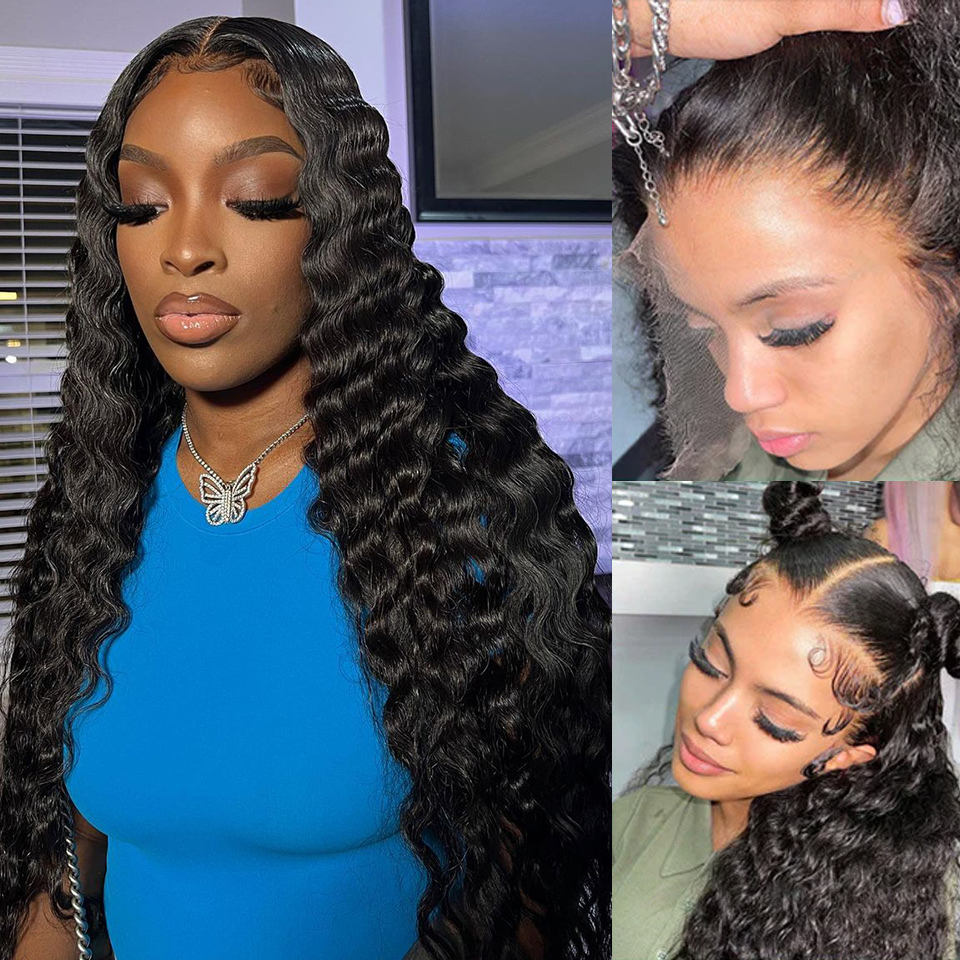
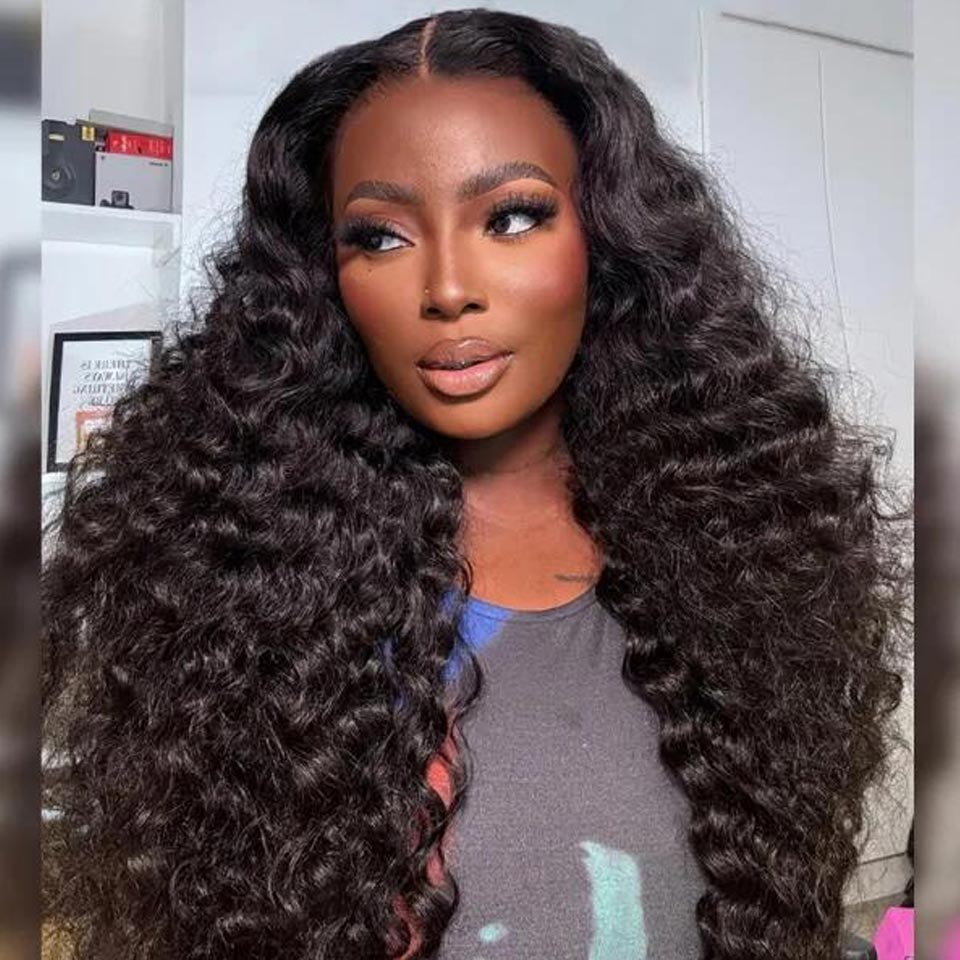
Getting tight curls is a popular hairstyle for those looking to add texture, volume, and a playful flair to their look. Achieving this can be a fun and creative process, whether your hair is naturally straight or already has some curl. In this detailed guide, we will explore a variety of methods to help you achieve tight, bouncy curls, covering everything from preparation and curling techniques to maintenance and product recommendations.
Hair Types and Textures.
Before diving into curling techniques, it’s important to understand your hair type and texture as this will influence the methods and products you should use. Hair can be classified from Type 1 (straight) to Type 4 (coily), with several subcategories depending on the tightness of the curl and the texture.
Type 1 hair is straight and usually does not hold curls well without help from products and styling tools.
Type 2 hair is wavy and can be encouraged to form tighter curls with the right techniques.
Type 3 hair is naturally curly and can be styled to enhance the tightness of the curls.
Type 4 hair is coily and naturally very tight but can be styled for even more defined curls.
Preparing Your Hair for Curls.
Proper preparation is key to achieving long-lasting tight curls. Here’s how to start:
Cleanse and Condition: Begin with clean, well-conditioned hair. Use a moisturizing shampoo and a hydrating conditioner to help your hair withstand the stress of curling and to maintain its health.
Deep Conditioning: Once a week, apply a deep conditioning treatment to keep your hair nourished and to reduce frizz, which is crucial for maintaining defined curls.
Detangling: Gently detangle your hair with a wide-tooth comb or a detangling brush to prevent breakage and to ensure even styling.
Choosing the Right Tools and Products.
Selecting the right tools and products is vital for achieving and maintaining tight curls:
Curling Irons: A small-barrel curling iron (around 3/8 to 1/2 inch) is ideal for creating tight curls. Look for one with adjustable heat settings to prevent hair damage.
Curl Enhancers: Use a curl-enhancing cream or gel that promotes elasticity and hold. These products can help form tighter curls and prevent them from drooping throughout the day.
Heat Protectant: Always use a heat protectant spray before applying heat to your hair to minimize damage.
Hair Sprays: A strong-hold hairspray can help lock in the curls once they are formed.
Curling Techniques.
Here are several techniques for achieving tight curls, suitable for various hair types and lengths:
1. Traditional Curling Iron Method.
Section your hair: Start by dividing your hair into sections. The smaller the section, the tighter the curl.
Wrap and Curl: Wrap small sections of hair around the barrel of the curling iron. Hold for a few seconds and release. Ensure you curl the hair away from your face on the front sections for a more flattering look.
2. Pin Curls.
Form the Curls: After your hair is slightly damp, take small sections and wrap them around your finger or a small roller, then pin them to your scalp using bobby pins.
Dry Fully: Allow your hair to air dry completely or use a hairdryer on a low heat setting.
Release and Style: Remove the pins and gently separate the curls with your fingers. Apply a light hairspray to hold.
3. Rag Curls.
Prepare the Rags: Cut a series of cloth strips from a soft fabric like cotton.
Wrap the Hair: Take small sections of slightly damp hair, wrap them around the cloth strips, and tie the rags to secure the curls.
Dry and Unwrap: Leave the rags in overnight or until the hair is dry, then carefully unwrap to reveal tight curls.
Using a curling iron to create tight curls.
Achieving tight curls with a curling iron is a great way to add bounce and texture to your hair. This method allows for precision and versatility, letting you control the tightness and placement of each curl. Here’s a step-by-step guide on how to create those enviable tight curls using a curling iron, along with some tips to ensure they last longer and look fabulous.
Step 1: Choose the Right Curling Iron.
For tight curls, opt for a curling iron with a small barrel. Generally, a barrel size of about 3/8-inch to 1/2-inch is ideal for creating tight, springy curls. Look for an iron with adjustable heat settings to cater to your hair’s texture and sensitivity.
Step 2: Prepare Your Hair.
Before curling, wash your hair with a volumizing shampoo and a lightweight conditioner. This keeps your hair manageable without weighing it down. Apply a heat protectant all over your damp hair to shield it from heat damage, then blow dry completely. Your hair needs to be completely dry to effectively curl with an iron.
Step 3: Apply a Curl Enhancer (Optional)
If your hair struggles to hold a curl or if you want extra definition, apply a curl-enhancing product. A good mousse or curl-enhancing cream can add texture and help your curls last longer.
Step 4: Section Your Hair.
Divide your hair into several sections. The number of sections will depend on the thickness and length of your hair. Clipping the upper layers on top of your head and starting with the lower layers is usually easier.
Step 5: Curl Your Hair.
Take small sections of hair (about 1/2-inch wide) and wrap them around the curling iron, starting close to the roots but not touching the scalp. Hold the hair wrapped around the iron for about 10 to 15 seconds, then release. The key to tight curls is making sure not to use too much hair in each section — the smaller the section, the tighter the curl.
Step 6: Hold the Curl.
Once you release the hair from the curling iron, it can help to hold the curl in your hand for a few seconds while it cools. This sets the curl and helps it last longer. You can also use a clip to pin each curl to your head until it cools completely for even longer-lasting curls.
Step 7: Continue Curling.
Repeat the process throughout all sections of your hair. Ensure that the curls are uniform in size and direction for a cohesive look, or alternate the direction of the curls for a more natural, voluminous style.
Step 8: Finish and Set Your Curls.
Once all your hair is curled, let your curls cool completely. This cooling period helps the curls set and stay tight longer. Afterwards, gently run your fingers through your hair or use a wide-tooth comb if you want to slightly loosen the curls for a more natural look. Avoid brushing as this can make the curls frizzy.
Step 9: Apply Finishing Products.
Use a strong-hold hairspray to ensure your curls hold throughout the day. For added shine, a light spritz of a shine-enhancing spray can give your curls a glossy, healthy look without weighing them down.

Additional Tips for Maintaining Tight Curls.
Sleep on Silk: To keep curls intact overnight, consider sleeping on a silk pillowcase, or wrap your hair in a silk scarf to reduce frizz and rubbing.
Refresh Your Curls: On the second or third day, refresh your curls with a curl reviving spray, or simply mist with water and gently scrunch them.
Avoid Humidity: If you live in a humid area, use products specifically designed to combat humidity, like anti-frizz serums or sprays.
Styles for Tight Curl Hair.
Tight curls can be styled in numerous exciting ways, transforming your look for any occasion. Whether you want a casual, everyday style or something more formal and elegant, tight curls offer a versatile base from which to create a range of hairstyles. Here are some stylish ideas for making the most of tight curls:
1. High Ponytail with Tight Curls.
This is a classic and easy way to style tight curls, especially on busy days. Pull your tightly curled hair back into a high ponytail at the crown of your head. This elevates the look and adds a playful touch as the curls cascade beautifully from the ponytail. Secure with a hairband, and consider wrapping a small section of hair around the band for a polished look.
2. Pineapple Updo.
The pineapple updo is not just for sleeping! This style is perfect for showing off the volume and texture of tight curls while keeping the hair off your face. Simply gather your curls to the top of your head and secure them with a scrunchie, allowing the curls to puff out stylishly around your head. This look is great for casual outings and can be dressed up with headbands or other hair accessories.
3. Half-Up, Half-Down.
This hairstyle is great for medium to long tight curls. Take the top section of your hair and pull it back, securing it with a clip or pins at the back of your head. This style highlights your facial features while letting your curls flow beautifully at the back. You can also twist or braid the top section before pinning it for an added touch of elegance.
4. Side-Swept Curls.
For an effortlessly glamorous look, sweep all your curls to one side and secure them loosely with bobby pins behind one ear. This asymmetrical look is perfect for formal events and can be enhanced with sparkling hair accessories or a decorative clip.
5. Bantu Knots.
This is a striking way to style tight curls, especially for shorter hair. Section your hair into multiple parts, twist each section tightly, and then coil it into a small bun or “knot” on your head. Secure each with bobby pins. You can choose to leave these in as a style or unravel them later for a different tightly curled look.
6. Tight Curly Bob.
If your tight curls are cut into a bob, embrace the volume and bounce by letting them naturally do their thing. You can part your hair on the side or in the middle, and use a bit of curl cream to define the curls and reduce frizz.
7. Braided Crown with Curls.
Create a crown braid with the hair around your forehead and temples, then let the rest of your tight curls flow freely. This style is especially romantic and is perfect for dates, weddings, or other special occasions.
8. Tight Curls with Bangs.
Styling tight curls with bangs can give a fresh and modern look. Whether you have curly bangs or straight ones, this style frames your face beautifully. Ensure the bangs are well-defined and use a light serum or spray to keep them in place without weighing them down.
9. Low Bun with Accent Braids.
For a more formal appearance, pull your tight curls back into a low bun at the nape of your neck. Add small braids within the curls before wrapping them into the bun for an intricate, detailed style. This look is elegant and sophisticated, suitable for formal events or business settings.
Natural Ways to Untighten Tight Curls in Black Hair.
Loosening tight curls in black hair naturally involves techniques and treatments that gently relax the curl pattern without using harsh chemicals. These methods can help increase manageability, reduce shrinkage, and provide a softer curl pattern. Here are some effective ways to naturally loosen tight curls in black hair:
1. Deep Conditioning Treatments.
Regular deep conditioning treatments can make a significant difference in the softness and elasticity of your curls. Natural ingredients like coconut oil, olive oil, shea butter, and avocado are excellent for this purpose. These ingredients penetrate the hair shaft, providing moisture and helping to relax the curl slightly.
How to Apply:
Warm the oil slightly and apply it thoroughly to your hair, from roots to ends.
Cover your hair with a plastic cap and wrap a warm towel around your head to enhance penetration.
Leave it on for at least 30 minutes or overnight for deeper conditioning, then rinse out.
2. Using a Hair Steamer.
Hair steaming is a great method to hydrate and loosen tight curls. The steam lifts the hair cuticle, allowing moisture and your chosen treatments to penetrate deeply into the hair shaft.
How to Steam:
Apply a deep conditioner to your clean, detangled hair.
Sit under a hair steamer without a cap, or use a handheld steamer, for 20-30 minutes.
Rinse and style as usual.
3. Braid-Out or Twist-Out Methods.
These styling techniques stretch the hair as it dries, loosening the curl pattern temporarily.
How to Style:
Wash and condition your hair.
Apply a leave-in conditioner or curl cream.
Divide the hair into several sections, then braid or twist each section tightly.
Allow your hair to air dry completely before undoing the braids or twists.
Gently separate the braids/twists to reveal looser curls.
4. Band Stretching Method (Banding)
Banding involves using several hair ties to gently stretch your curls as they dry.
How to Band:
After washing and conditioning, section damp hair.
Starting at the roots, tie a hairband around each section, adding more bands down the length of the hair at intervals, leaving space between each band to prevent creases.
Once dry, remove the bands to reveal elongated curls.
5. Use of Aloe Vera.
Aloe vera is known for its hair softening and moisturizing properties, and it can help to naturally loosen curls over time.
How to Apply:
Extract the gel from an aloe vera leaf.
Apply the gel to your hair and scalp after your regular washing routine.
Leave it in as a conditioner, or rinse out after 30-60 minutes.
6. Apple Cider Vinegar Rinse.
An apple cider vinegar (ACV) rinse can help balance pH levels and slightly relax curls.
How to Use:
Mix one part ACV with three parts water.
After shampooing, pour the mixture over your hair and let it sit for a few minutes.
Rinse thoroughly with cool water.
7. Regular Trimming.
Eliminating split ends and keeping your hair trimmed regularly can prevent tangles and knots, making your natural curls appear looser and more manageable.
8. Proper Detangling.
Using a wide-tooth comb or fingers to detangle when your hair is wet and conditioned can prevent the curls from tightening up due to breakage and knots.
In A Nutshell.
Achieving tight curls is an art that involves the right preparation, tools, techniques, and maintenance. Whether you use a traditional curling iron, experiment with pin curls, or go old school with rag curls, each method has its charms and effectiveness. Remember, the key to great looking curls is keeping your hair healthy, so always prioritize hair care. With patience and practice, you can master the art of tight curls and enjoy a dynamic, fun hairstyle that turns heads.

